


Why Should You Clean Refrigerator Coils?
Dust, hair, and other debris collect on your refrigerator condenser coils over time. All this build-up forces your condenser to work harder to maintain the optimal temperature. If your coils are dirty you may notice one or more of the following problems:
- Refrigerator runs loud
- Refrigerator runs constantly
- Refrigerator not cold

How to Clean Refrigerator Coils
Before you start cleaning your condenser coils, make sure your refrigerator is unplugged from the power source.
Step #1: Gather Your Supplies
In order to clean refrigerator coils properly, you’ll need just a few supplies:
- Appliance Brush
- Vacuum hose attachment
- Dust mask
Step #2: Locate Refrigerator Condenser Coils
Condenser coils are typically located in one of two places:
- Underneath the front side of the unit, behind a kickplate or grille
- On the back exterior wall of the unit
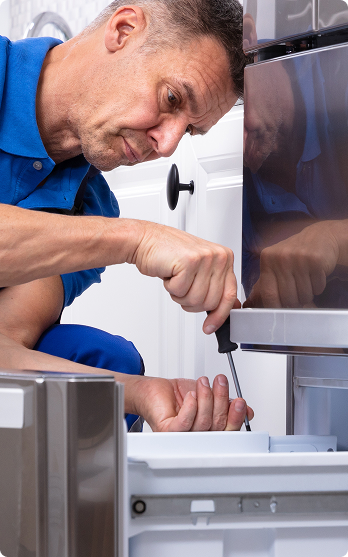
If your refrigerator has coils on the back wall, you’ll need to carefully slide it away from the wall. Give yourself enough room to access the coils in their entirety.
If your coils are on the front of the refrigerator, remove the kickplate in order to access the coils.
Step #3: Vacuum Dust from Refrigerator Coils
Use a vacuum hose attachment to remove the bulk of the dust and hair from the coils and underneath the unit. Don’t be too forceful, but try to remove as much debris as possible. Make sure to get in all the nooks and crannies to really clean the coils well.
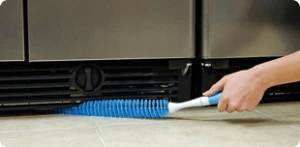
Step #4: Brush Condenser Coils Clean
Next, use your appliance cleaning brush to remove the remainder of the dust on refrigerator coils. Work the brush in and out of the coils and crevices. The more dust you remove, the more efficient your refrigerator will be.
Step #5: Vacuum and Replace Refrigerator
Once everything is nice and clean, move your refrigerator back into position if necessary. Don’t forget to plug it back in!